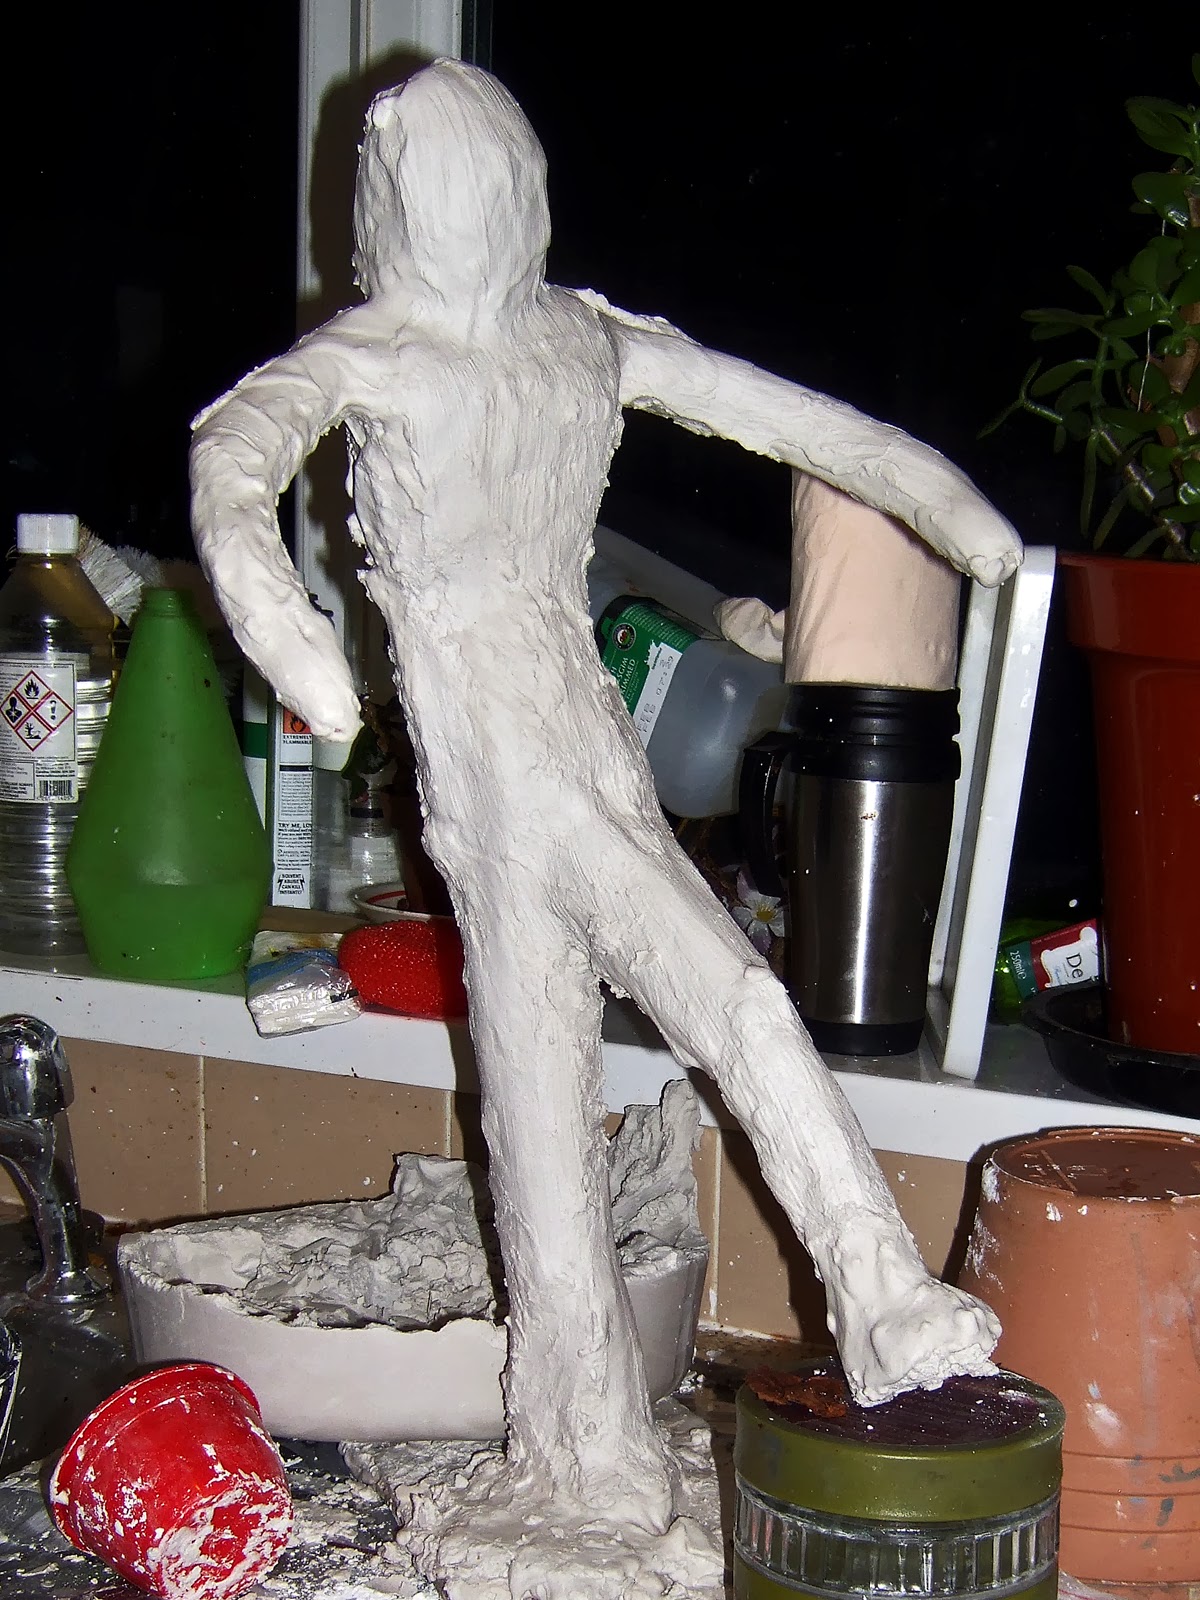
First of all this project is not finished yet I will be working on it from time to time adding details when I get a chance or an urge to do it. Armature built using blocks of wood and Garden Wire, I added some sponge to try and bulk the body out then added some tape to try and give it some shape. I have no idea what I'm doing with this I have some Mod Roc here but I just didn't want to waste a load of it trying to make the shape of the body that's why I'm trying the sponge. I've no idea if this technique will work or not if I'm honest if doesn't work I'll just start all over again.
Mod Roc was added to the armature and it was left to dry hard. I had a lot of problems when I was adding the plaster the armature it kept falling over with the weight and I couldn’t get it to stand up correctly. If this wasn’t enough the plaster kept cracking on the weighted leg time and time again. I was getting fed up by this and thought it would have been a lot easier to make this in clay rather than using this method. If it keeps on braking I will have to recompose the body to make it stand up, at the moment it’s just too flexible on the one standing leg, it’s just not strong enough. Eventually I had to reshape the armature slightly as it kept falling over, below are some pictures I took along the way. This project isn't finished and is still being worked on when I either get the urge and get a moments spare at college.
PLEASE DOUBLE CLICK IMAGES FOR THE LARGEST IMAGE
For the first brief on 3D Art we were introduced to Sandcasting with potters plaster. I haven’t used this material before and the only time I did any 3D art was in primary school with clay. I decided to start off with a very simple piece just to get me introduced to plaster. We were given a short 20 mins or so introduction on how to mix the plaster and a quick health and safety talk about wearing masks and how to use the surf and cutting tools. Once mixed we then poured the mixture into a container, some students used larger rounded shape containers to cast a block to shape into something.
I choose to start off easy and made a mould from wet sand first, I pressed materials into the sand to make an indent. The items I used to make the mask were all found in the class room, for the nose I used a rock; the mouth was made from an organic object which I can’t remember the name off. An eraser case and chalk were used for the eyes and the eye brows were made from another organic item. The plaster mix was poured into the wet sand; I left it to set for around 15 minus. The plastic tub was removed and sand was brushed away, the above image is what I was left with, not a bad starting point.
PLEASE DOUBLE CLICK IMAGES FOR THE LARGEST IMAGE